
FPV Drone Filming Behind the Scenes at Cass Productions
FPV drone filming has transformed the world of video production, giving filmmakers the ability to create ultra-dynamic, immersive shots that simply can’t be achieved with traditional drones. At Cass Productions, we saw the potential early and in 2022, we jumped in and added FPV capability to our production toolkit. Since then, FPV drone filming has become one of our most exciting and versatile creative techniques.
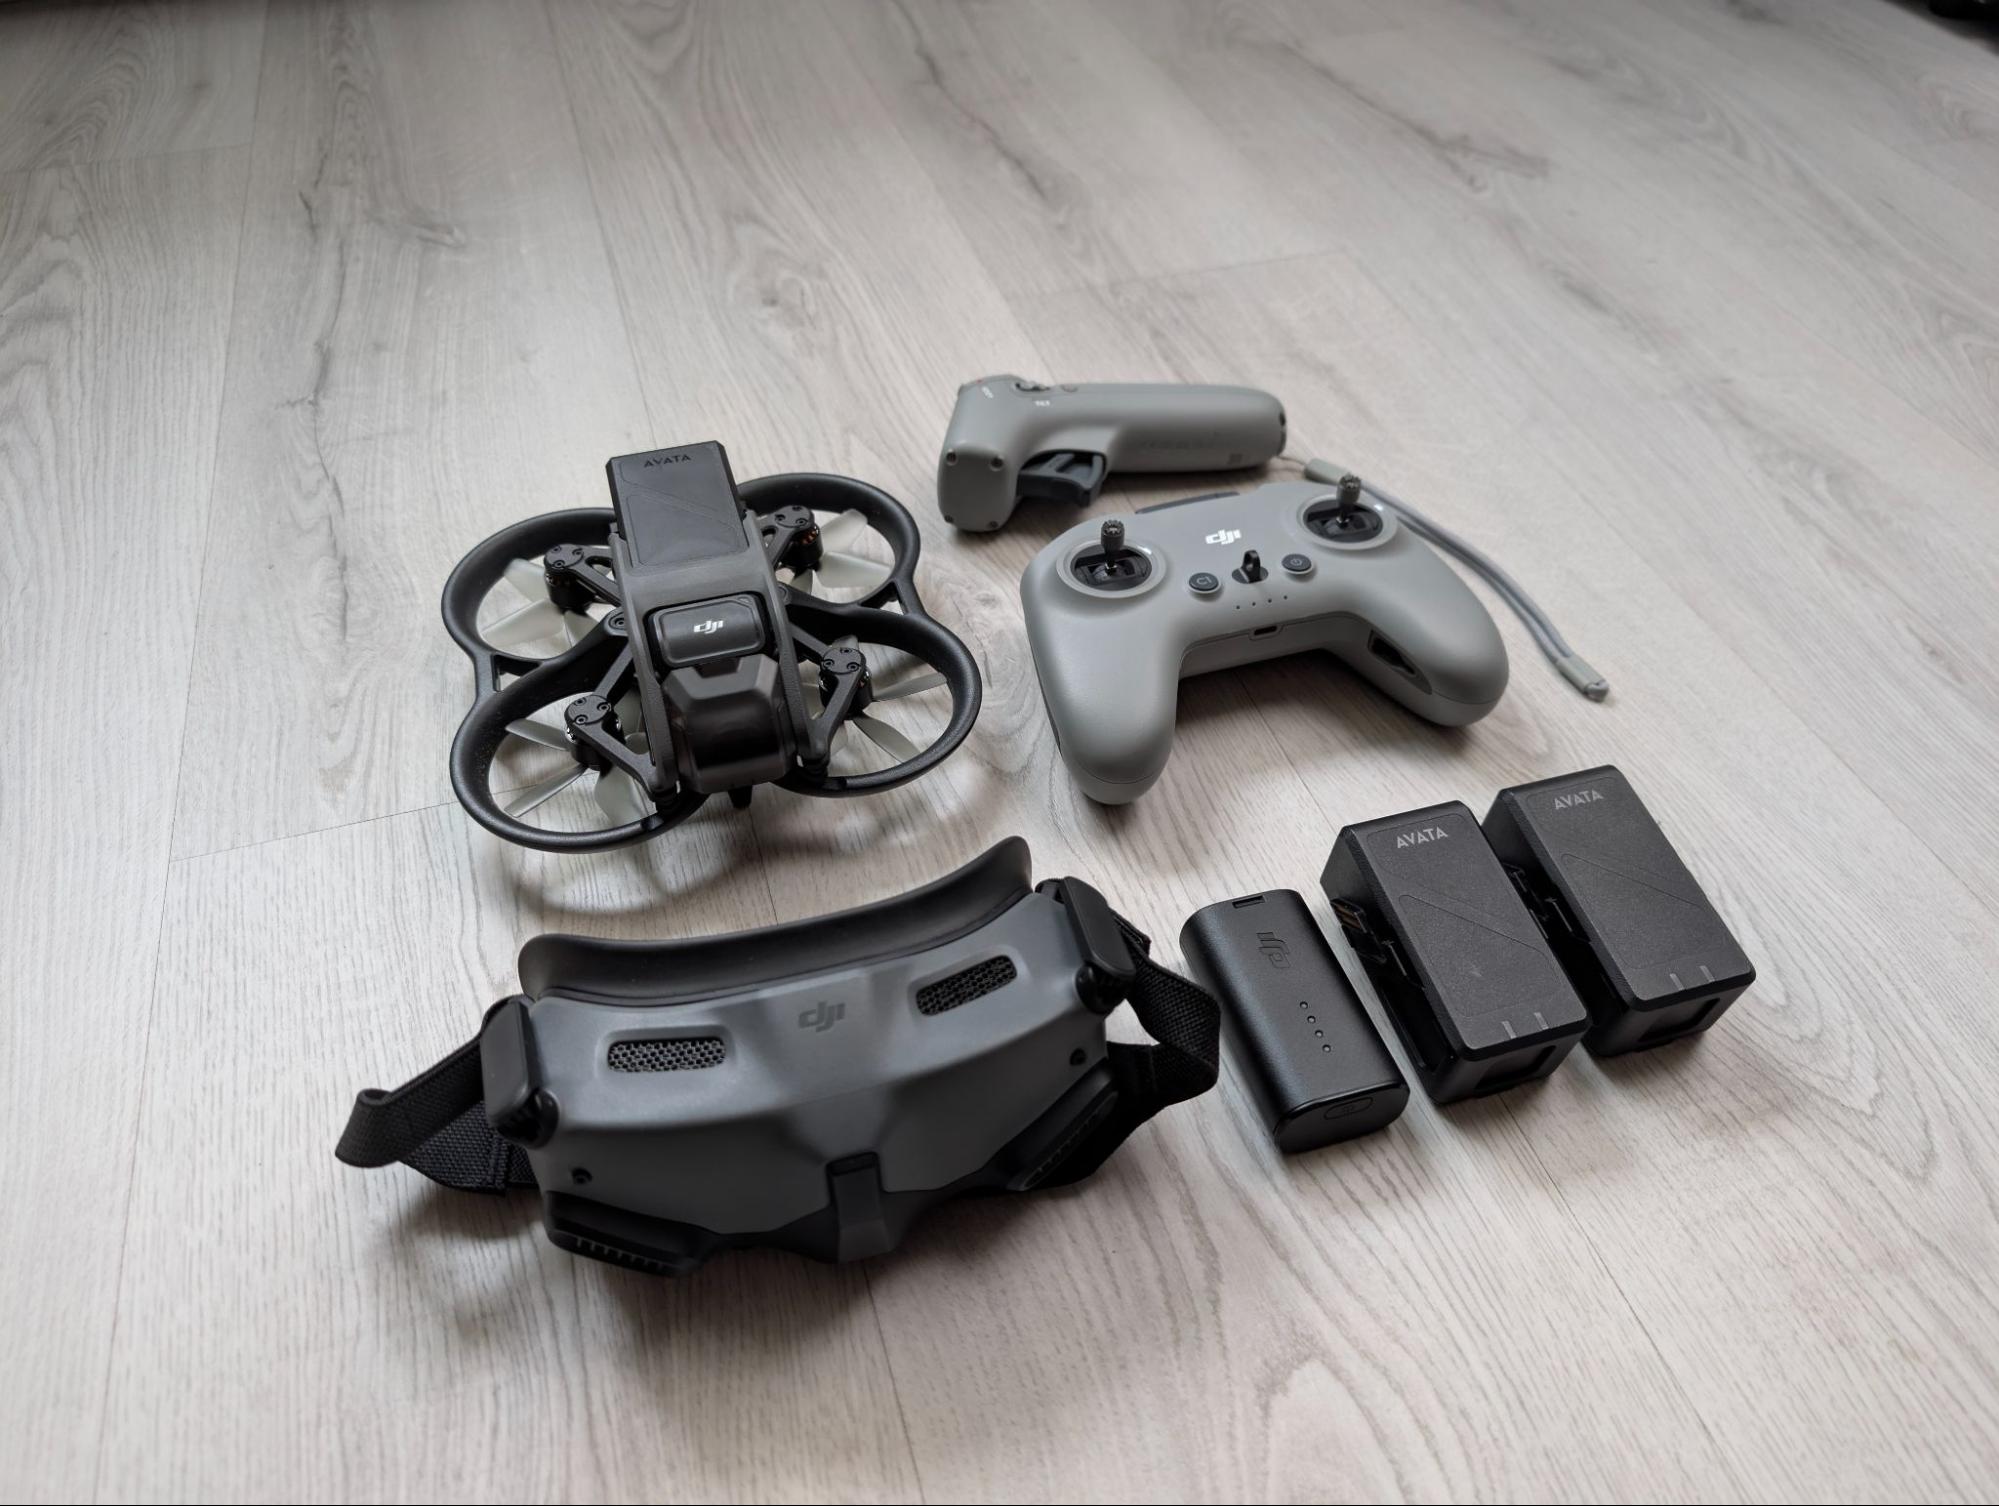
Here at Cass Productions, we have used drones for years to enhance our visual storytelling. But when one of our drone operators became certified to fly FPV drones, we knew it was time to level up our aerial work. That’s when we introduced the DJI Avata, our first dedicated FPV drone and opened the door to a whole new style of high-energy, cinematic movement.
Whether you’re new to FPV drone filming or looking to polish your flying skills, this in-depth breakdown shares what we learned while prepping for our first FPV shoot, along with practical tips to help you get more out of your flights.
(If you’re interested in our other filming techniques, check out our University Video Production page here.)
PRE-PRODUCTION FOR FPV DRONE FILMING
Our first major project using FPV drone filming came from a sixth-form college in Hampshire. They approached us to create a promotional video that shifted perceptions of the college being “sports-focused” and instead showcased the full student experience. After researching what prospective students wanted to see, one insight stood out clearly: they were far more interested in the look and feel of the college environment than in lengthy interviews. They wanted energy, atmosphere, movement, less talking, more visuals.
This was the perfect opportunity for FPV Drone Filming to shine.
We proposed a cinematic fly-through of the college, using highly coordinated transitions to move the FPV drone from classrooms to sports halls to breakout spaces. FPV drones, especially the DJI Avata, allow for quick accelerations, tight manoeuvres and smooth glides, ideal for showcasing large spaces in one continuous flow.
Using Tools to Plan Drone Filming Safely
With the brief locked in, our first task was flight planning. We always begin by checking the area using Drone Safety Map, a crucial tool for identifying no-fly zones, obstacles, FRZs (Flight Restriction Zones) and general airspace conditions.
This kind of preparation matters even more with FPV drone filming because pilots often navigate tighter indoor routes or complex exterior spaces. Drone Safety Map gives us a clear overview of:
- airports or airfields nearby
- environmentally sensitive areas
- temporary restrictions (like event airspace)
- terrain and infrastructure hazards
This tool helps us stay compliant and safe and avoids any surprises during shooting.
FLIGHT SAFETY IN FPV DRONE FILMING
During our checks, we noted that our intended route was located close to Southampton Airport, but still outside the red Flight Restriction Zone. Even though we were in a legal flying zone, we remained vigilant for NOTAMs (Notices to Air Missions) that could temporarily restrict airspace.
Before any FPV drone filming session, we complete:
- A full risk assessment
- A detailed flight plan
- An emergency procedure plan
- A safety briefing with the on-site team
FPV drones move fast and respond quickly, so having a structured plan ensures both safety and creative control.
With the flight cleared and the paperwork completed, we turned to equipment checks, battery levels, propellers, goggles, SD cards and calibration. With FPV drone filming, you want zero surprises once the goggles go on.
ON-SET FPV DRONE FILMING
Once on location, we worked closely with the college staff to map our route through corridors, classrooms and open spaces. The versatility of FPV drone filming meant we could craft long seamless sequences that showcased the college from a student’s perspective, immersive, fast-paced and full of life.
We executed:
- fast forward pushes into classrooms
- sweeping arcs above desks
- tight turns through doorways
- reveal shots into larger halls
- dynamic passes through communal areas